
As a professional photographer, I’ve learned the importance of not just capturing the right moment but also presenting it in the best light possible. This principle holds true for webcam footage as well. Whether you’re engaging in live sessions or recording content, basic editing can elevate your footage, making it more appealing and professional. Here are some fundamental techniques that can make a significant difference:
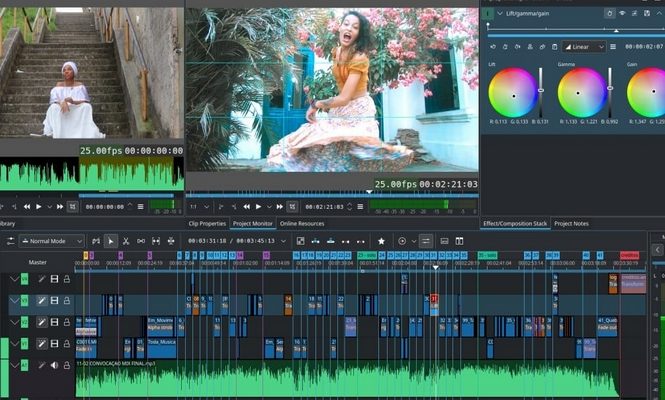
1. Color Correction: One of the first steps in enhancing your webcam footage is color correction. Adjust the white balance to ensure that the colors in your video look natural and true to life. Pay attention to skin tones; they should look natural and consistent throughout your footage.
2. Brightness and Contrast Adjustments: Webcam footage often suffers from poor lighting, leading to dull or overly harsh visuals. Adjusting the brightness and contrast can help balance the light in your video, making it more pleasant to watch. Avoid overdoing these adjustments, as too much contrast or brightness can distort the image quality.
3. Crop and Frame: Sometimes, the key to more engaging footage is in the framing. Cropping can help eliminate unnecessary background elements, focusing more on you. Ensure the framing follows the rule of thirds, where you position yourself slightly off-center for a more aesthetically pleasing composition.
4. Apply Filters Sparingly: Filters can add a unique touch to your footage, but they should be used sparingly. Choose filters that enhance the mood you want to convey but avoid those that dramatically alter the natural look of your video.
5. Noise Reduction: If your webcam footage has grainy or pixelated sections, especially in low-light conditions, applying a noise reduction filter can help. This tool smooths out the graininess, but be careful not to overdo it, as it can lead to a loss of detail.
6. Sharpening: A little bit of sharpening can go a long way in making your video look crisper. However, like with other adjustments, moderation is key. Over-sharpening can make the footage look unnatural.
7. Stabilization: If your webcam footage is shaky, applying a stabilization effect can help. This is particularly useful if you’re using a handheld camera or if your webcam is on an unstable surface.
8. Sound Quality Enhancement: Often overlooked, the audio quality of your webcam footage is just as important as the visual. Remove background noise, adjust the audio levels, and ensure your voice is clear and audible.
9. Transitions and Effects: If you’re stitching together multiple clips, use transitions to make the change from one scene to another smooth. Choose transitions that match the overall style of your content.
10. Consistency: Finally, ensure that your editing style is consistent across different videos. This helps in building a brand and makes your content immediately recognizable.
Remember, the goal of editing is to enhance your footage without making it look over-processed. Subtle changes can often have the most significant impact. With these basic techniques, you can dramatically improve the quality of your webcam footage, making your content more engaging and professional.